Art Tutorial: Oil Pastel Painting in the Procreate Digital Art App
 |
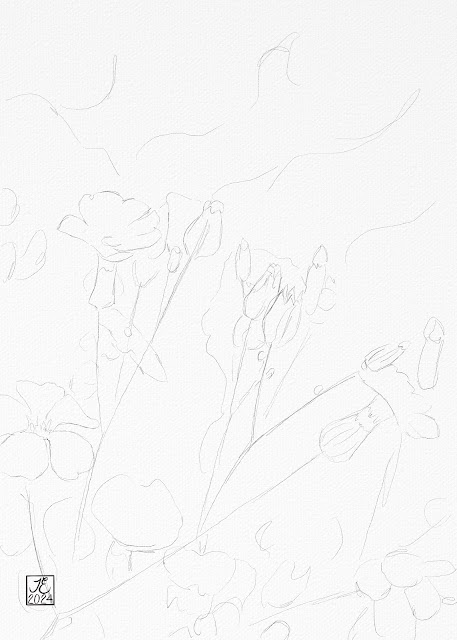
| Flowers in Pastel, Tanya Eddy (2024) |
I have always told my students that, in order to learn how to use different “brushes” in digital art, it is helpful to know how those mediums will perform on real canvas and paper. Unfortunately, the digital art “canvas” is a flat, white screen. If you pick up an oil pastel or watercolor brush, it will look flat, as well. Even so, there is a way to work around this issue. In the following tutorial, we will learn the basics of digital oil pastel, layer placement, and how to add a canvas or paper texture.
The Drawing
I start all of my pieces with a sketch. Depending upon my subject, I may have, either, a detailed sketch or a basic sketch. Since this example has very little detail, I will use a basic sketch. I reserve the more detailed sketches for portrait art and intricate still-life subjects. However, if a more detailed sketch works for you, then go for that avenue. There is no wrong way to prepare for the piece.
You may notice some “squiggly” lines behind the flowers. These lines are a reminder of where I will add light and dark colors, in the background. This stage is kept pretty loose, as I may go back during the coloring phase and change things up, a bit. The brush that works best for me, at this stage, is the Derwent brush. If you are working with an app other than Procreate, this would be equivalent to a 2B drawing pencil.
The Filter
To really give a piece verisimilitude, a textured filter is, in my opinion, absolutely necessary. The filter I used for this piece was a canvas filter. I have two favorite filters which I use, according to the mediums I choose, for a particular piece. Both filters were purchased from Aaron Blaise’s website, Creature Art Teacher . In addition to fabulous surface textures, he also has some wonderful brush sets, for both Photoshop and Procreate.
I downloaded the canvas textures from my photos and used this as the topmost layer. I, then, reduced the opacity of the layer to 20%. My opacity reduction will vary, depending upon mediums. I have found that 20% worked best for this piece.
The Color
The first color layer, which I refer to as the “Base” layer, is directly under the drawing layer and applied with an Oil Pastel brush. If you’re using the Procreate App, this brush can be found under the Sketching brushes. The painting is, then, blended with the blending tool, set as an Oil Pastel. This layer is, then, blurred, using the Gaussian blur. I usually, only, blur to around 2%, as we aren’t wanting to lose our colors and definition. Instead, we are wanting to create some perspective in the piece.


Comments
Post a Comment