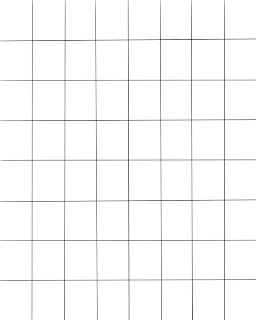
Art Tutorial: Using a Grid for Contour Drawing
After 20 years of teaching Art, I have found that one of the best ways for students to learn contour drawing is through utilizing the “Grid”. In this post I will explain the basics of grid drawing and provide you with a project to get you started. For all of our contour drawing projects through YouTube, we will be using an 8”x10” format. The accompanying instructional video may be found on my YouTube at Realistic Drawing | Digital and Traditional Art
Traditional Art Supplies
If you are following along with this project as a traditional artist, you will need an 8”x10” piece of paper. As this is a learning piece, drawing paper or sketchbook paper will work well. However. If you would like a more professional looking piece, I recommend Bristol paper. Additionally, you will need a pencil of your choice and either a ruler or t-square.
Digital Art Supplies
As a digital artist, you probably have your device and drawing app of choice already available. If you are new to digital art, and would like more information about your options please see my previous POST
To get started, you will need to open an 8”x10” (2400px x 3000px) canvas with a 300DPI. If you can choose between RGB or CMYK color format, it would be best to choose the RGB for this project.
The Process
Whether you are working in digital or traditional, you will need to create an 8x8 grid on your canvas or paper, respectively. Start by dividing your working surface into 4 equal quadrants. From here, you will continue to divide each section into equal parts, until you have an 8 X 8 grid, giving you 64 total boxes on your surface. Below, is an example of how your grid should look.


Comments
Post a Comment