Paint With Me: Henri Fantin-Latour (Master Study)
In previous blog posts, we have covered drawing techniques using a grid. While my drawing posts were suitable for both traditional and digital artists, this series will be aimed primarily at digital artists. That being said, traditional artists are welcome to jump in, as the painting process we use in digital art mimics the traditional process. So, if you are a traditional artist, don’t tap out on me just yet…keep reading.
In order to fully understand how to paint digitally, whether you are using watercolor, acrylic, oil, pastel, pencil, or inking brushes, you need to have some knowledge of how these mediums work in “real life”. In this series, I will take you through the digital art steps with both brush use and canvas techniques, to help you create a piece that will look like traditional art. The process I use, will be identical to how I would paint this piece with traditional art materials. Each creative process has both advantages and disadvantages, but we take a very similar road to our destination.
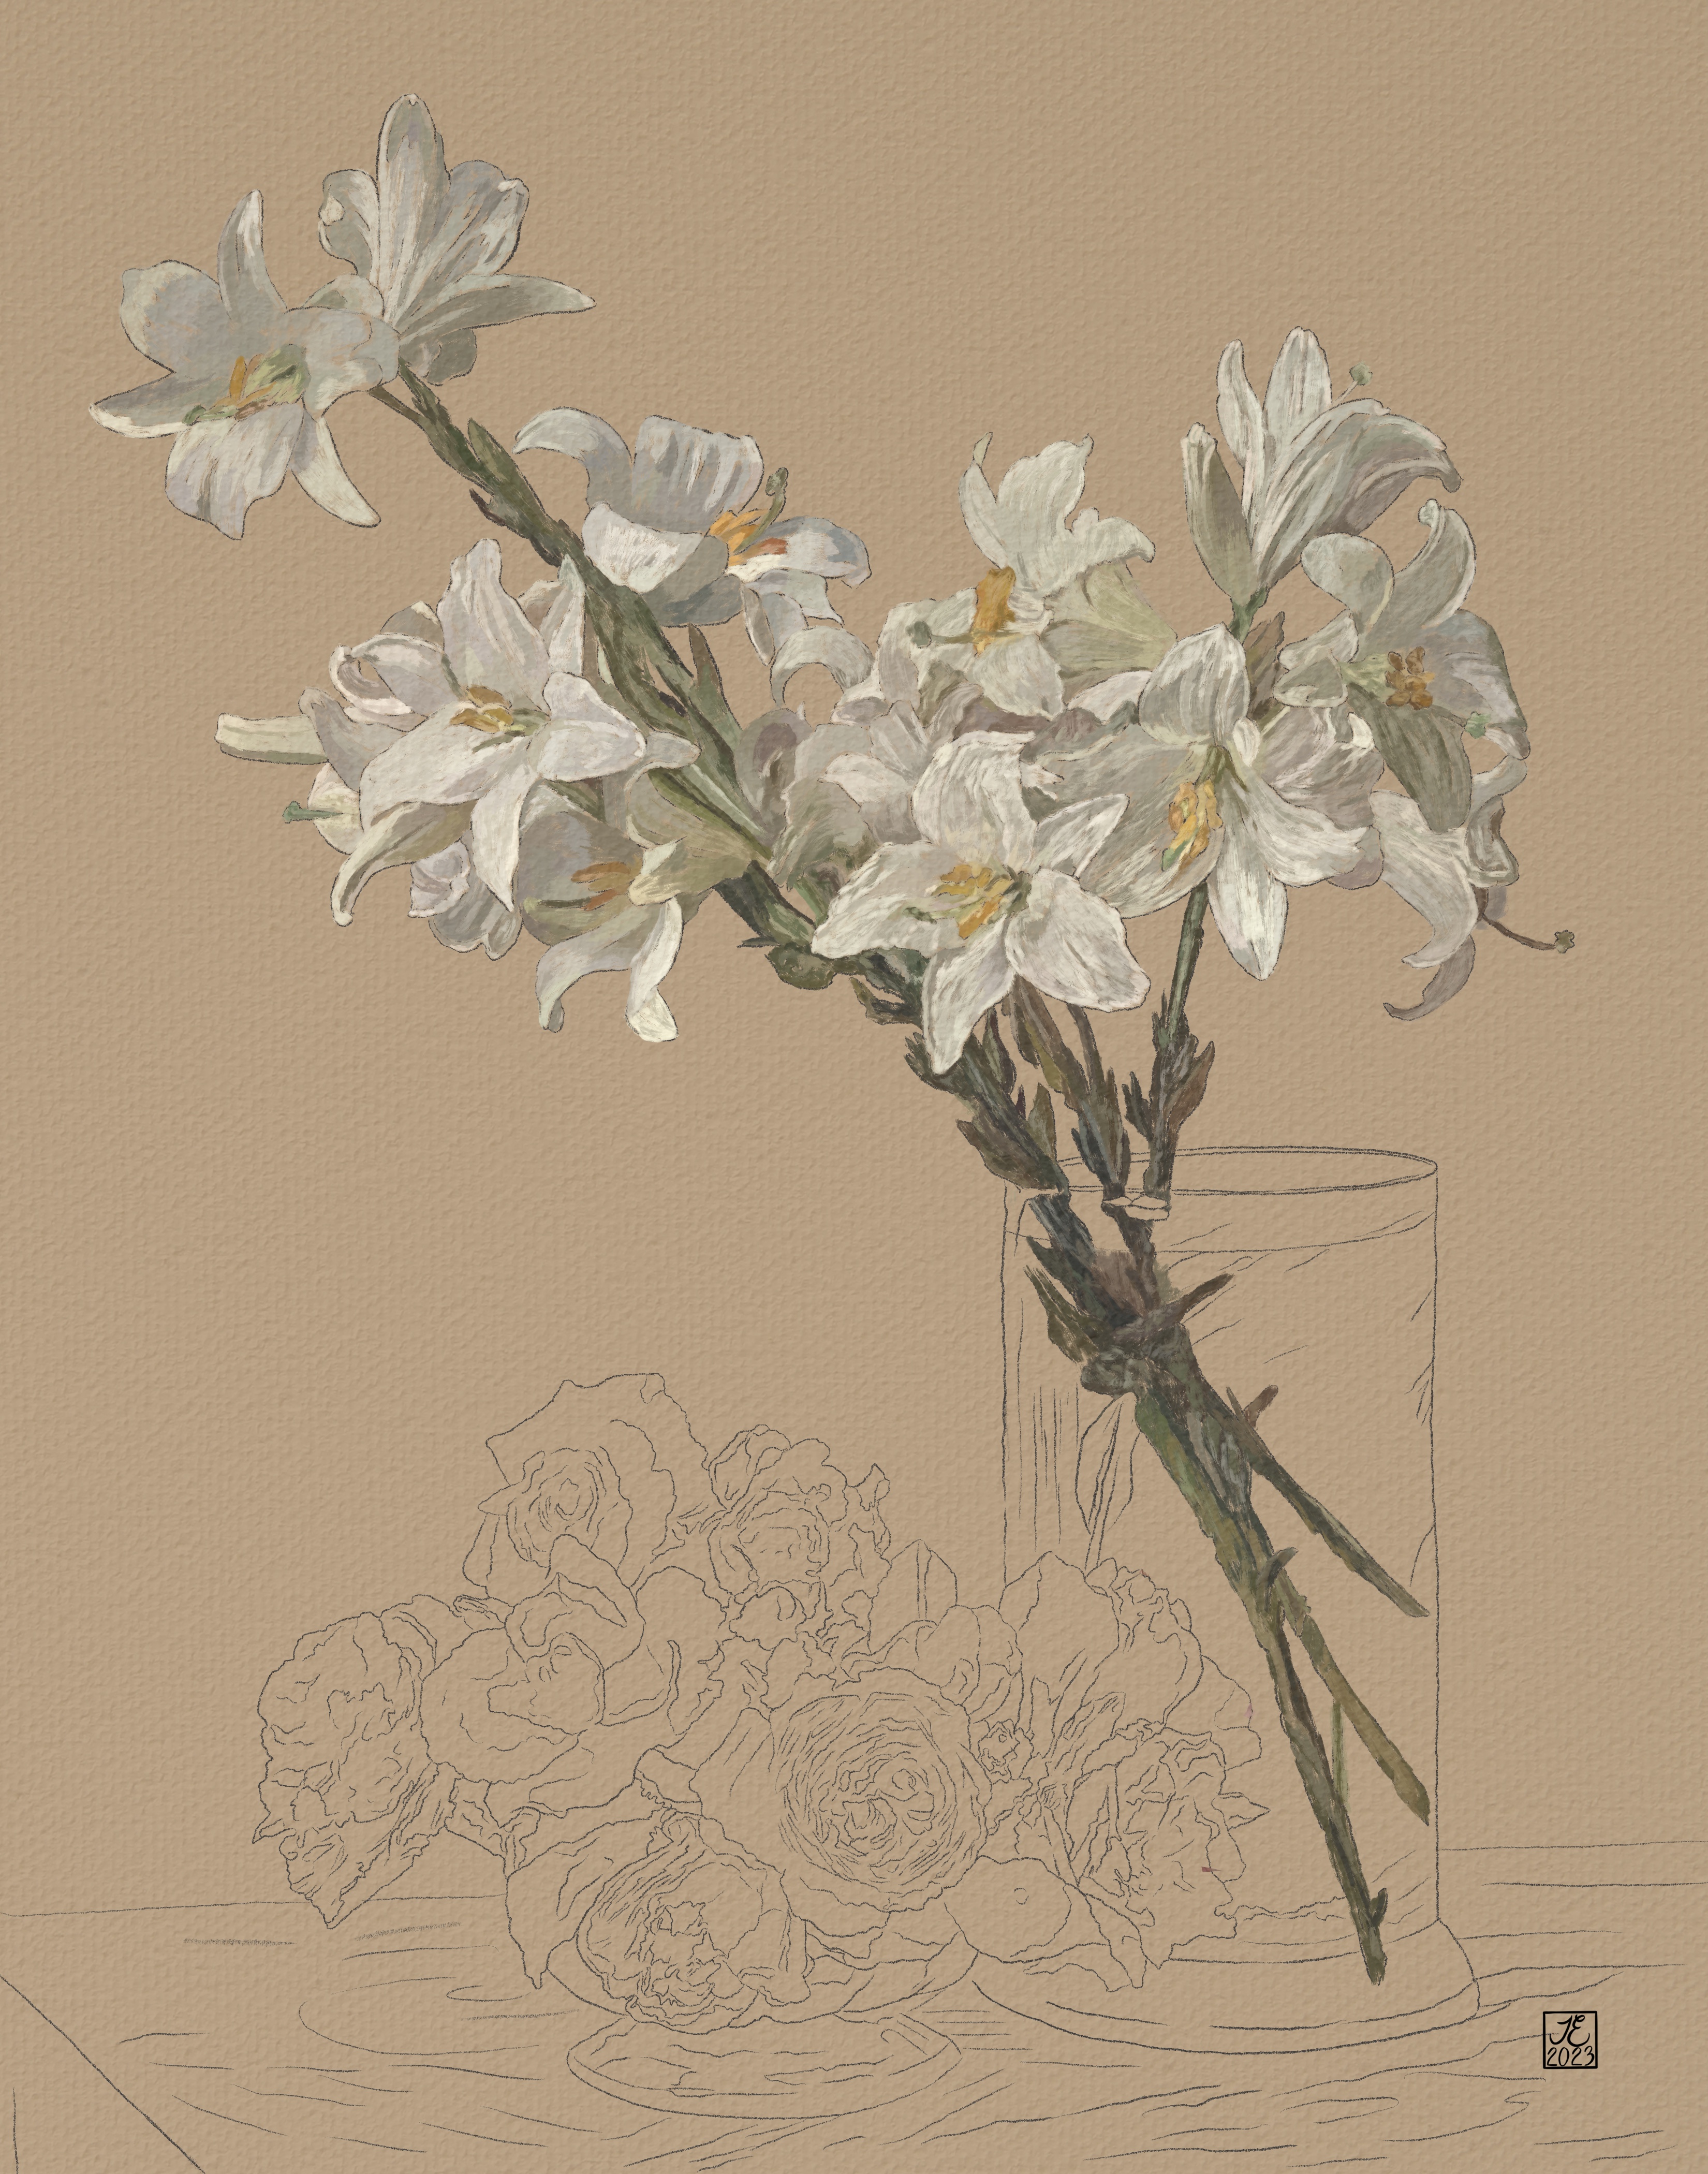
While traditional artists may have the advantage of working with actual materials, digital artists can boast of being able to “sample” the exact color we need from the reference photo. Below, you will find both the reference painting by Henri Fantin-Latour, a clean .png grid that you may download below your drawing layer, and my final contour drawing of the piece.
Note: You will see, in the video, that I have used a photo of a blank canvas as my top layer and have turned down the opacity to around 20%. Because I purchased this canvas texture online, I am unable to share that download with you here. However, it’s super easy to make one for yourself. You will simply take a photo of a blank canvas, save that to your device, and download it as your top layer of the project.


Process:
Regardless of your creative path on this one, you will need an 11”x14” canvas. For digital artists, we will be using a 300 dpi, with the 11”x14” translating to 3300px x 4200px. I am using the Procreate app, and have chosen the Derwent pencil brush to sketch the piece and the Old Brush, under the painting brush category, for adding color. If you are using a different program, choose a brush that will give you more of a rough painting finish.
Finally, for the background texture, I used the Fine Hair Brush, under the Materials category. This will allow you to have a similar texture as the original piece. I sampled some of the darker background colors for this step, and added the layer ABOVE the background color layer, and BELOW all of the other layers. I also used this same brush mark for the tabletop layer. If you don’t have a hair texture brush available in your program, you will need to either use a pencil brush and create long hatching marks, or use a brush that can create multiple thin lines.
The accompanying YouTube video may be found at the following link: Paint With Me
I hope you will hop over and follow along, as we recreate the work of this great master. As always, if you have any questions, please reach out and drop me a message in the comments.
“Let nothing be done through selfish ambition or conceit, but in lowliness of mind let each esteem others better than himself.”
Philippians 2:3


Comments
Post a Comment